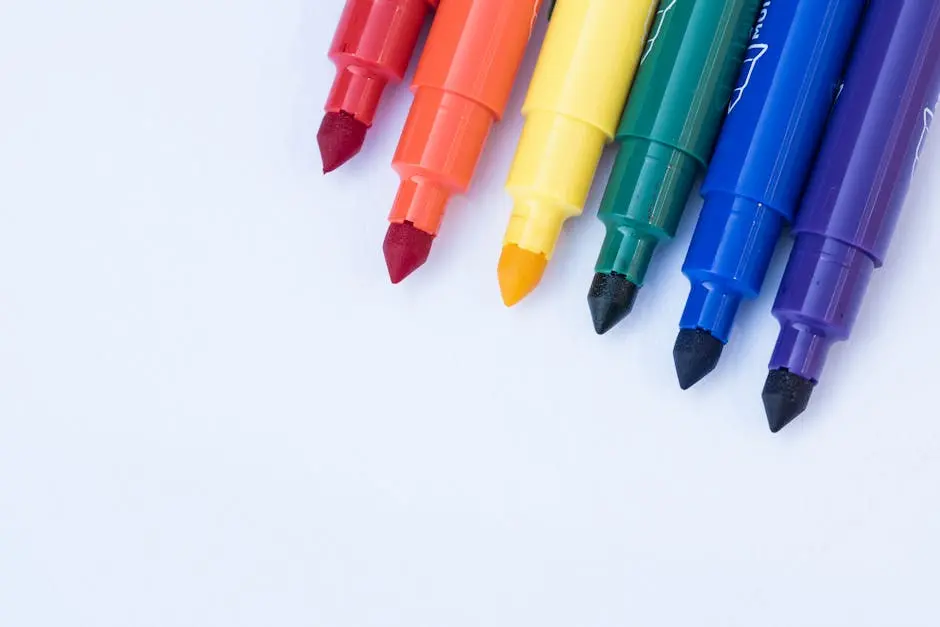
Art markers are an exciting and versatile tool for creatives, allowing for a vibrant expression of color and imagination. Whether you're just stepping into the world of art or you're an experienced artist, mastering the techniques and nuances of your art markers set can unlock a whole new realm of artistic possibilities. In this blog, we will explore the various types of markers available, delve into techniques for blending and layering colors, and share practical tips to enhance your creative endeavors effectively.

Understanding Different Types of Art Markers
Art markers come in a wide array of types, each possessing unique characteristics tailored to different artistic styles and techniques. From alcohol-based markers that seamlessly blend to water-based markers that allow easy manipulation, knowing these differences can significantly enhance your projects and overall artistic experience.
To elaborate further, alcohol-based markers are highly sought after for their capacity to create smooth gradients and radiant colors. They dry quickly and often feature dual tips, offering versatility for both intricate details and broader strokes. However, their permanent nature requires caution, especially on non-paper surfaces where accidental marks can be challenging to remove. Conversely, water-based markers are particularly suited for beginners due to their manageable clean-up and forgiving application. Their washable nature makes them ideal for children or those who prefer minimal mess in their creative process.
Additionally, it's essential to consider specialty markers such as metallic and pastel varieties. Metallic markers introduce a stunning sheen to your artwork, capturing light and drawing attention to key elements. Pastel markers, on the other hand, provide a gentle touch, perfect for creating soft, subtle effects. By combining different types of markers within your art markers set, you can expand your creative toolkit, resulting in unexpected and delightful artistic outcomes.
Chalk markers also deserve mention, as they perform remarkably on non-porous surfaces like glass and chalkboards. These markers are excellent for both artistic projects and practical applications, such as home décor. Understanding the diverse applications associated with each type of marker helps you fully harness their potential, allowing for uninhibited creative expression.
Essential Techniques for Blending and Layering
Blending and layering are crucial techniques when working with art markers. This section will guide you through various methods to achieve smooth color transitions, create depth, and add dimensionality to your artwork. You'll gain practical tips that will elevate your color application skills.
One of the simplest yet most effective blending techniques is 'feathering.' Start by applying the first color lightly, then gradually introduce the second color at the edges. Using the side of the marker nib allows for a softer transition. Remember, practice is essential—experimenting with pressure and speed can reveal how these factors influence your blending results.
Layering is another powerful approach. Allowing each layer of color to dry before adding another enhances intensity and creates unique visual effects. This method is particularly beneficial when applying lighter colors atop darker bases. A helpful tip is always to begin with light layers; building up color saturation is easier than trying to lighten an overly saturated area. This understanding cultivates confidence in your artistic approach.
Additionally, utilizing a colorless blender can significantly enhance your blending techniques. This tool smooths out harsh lines and even lightens colors when applied over them, especially conducive to achieving a watercolor-like effect, merging vivid colors into soft washes.
Don't hesitate to experiment! Every artist develops a distinct style regarding blending and layering. Trying different combinations and approaches enables you to discover what works best for you. As you continue practicing, you'll witness improvement in your skills, allowing the full potential of your art markers set to manifest in your creations.
Creative Ideas for Using Your Art Markers Set
Discover innovative and enjoyable projects that showcase your art markers. From crafting custom greeting cards to creating dynamic illustrations, this section will inspire you with creative ideas that can revitalize your artistic practice.
One delightful project involves designing personalized bookmarks. Use your art markers set to create colorful designs and motifs that reflect your personality. Not only are these bookmarks practical, but they make thoughtful gifts for friends while promoting a love for reading within your family.
You might also indulge in creating unique wall art. Utilizing canvases or heavyweight paper as your base, immerse yourself in a world of color. By layering different hues and utilizing blending techniques, stunning pieces can emerge, perfect for brightening any room. Consider abstract forms, geometric designs, or nature-inspired illustrations to truly showcase your creativity and skill.
Engaging projects could also encompass creating a scrapbook or visual journal. Document your life artistically, integrating sketches, doodles, and colorful notes with your markers. This eclectic mix of art and expression offers therapeutic benefits while serving as a cherished keepsake.
If you're feeling adventurous, consider collaborating with friends or family on a large canvas mural. Each participant can contribute their artistic touch, resulting in a vibrant piece that reflects the collective creativity of your group. This not only fosters connection but also explores the limitless possibilities available with your art markers set.
Caring for Your Art Markers Set
Proper maintenance of your art markers set is crucial for longevity and consistent performance. This section outlines key tips for storage, cleaning, and ensuring your markers remain in prime condition as you embark on your creative journey.
First and foremost, proper storage is vital. Keep your markers in a horizontal position; this practice maintains ink flow and prevents drying out. Storing markers upright can cause the ink to settle in the tip, making them difficult to use effectively. A dedicated marker case or caddy can help you streamline your setup and keep your collection organized.
An important aspect of care pertains to the nibs of your markers. Always replace the caps securely after use to protect the tips from drying out. If you encounter a marker that isn't performing well, gently soaking the nib in water or rubbing alcohol can sometimes restore its functionality.
Cleaning between color transitions is essential, too. It's advisable to keep a scrap piece of paper handy, using it to offload excess ink before moving to a new shade. This process ensures the purity of your colors, keeping your artwork vibrant and true to your desired palette.
Lastly, reference resources such as manufacturer guidelines for specific advice tailored to your unique art markers set, which can provide invaluable insights into maintaining the performance of your markers.
Embrace Your Colorful Journey
With the right techniques and a bit of practice, your art markers set can evolve into a powerful medium for unleashing your creativity. Embrace the enchanting world of colors, experiment with different styles, and most importantly, enjoy the process as you explore your artistic expression. Let your imagination flourish, and don’t forget to share your colorful creations with the world!

